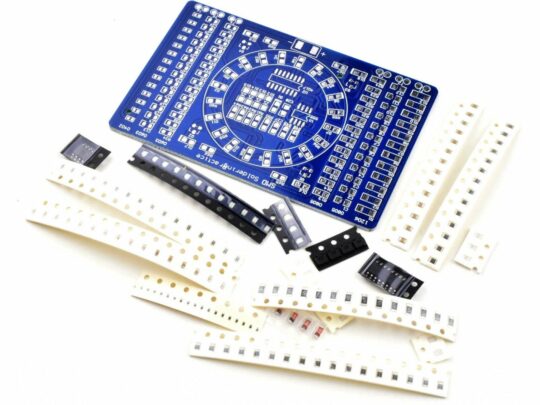
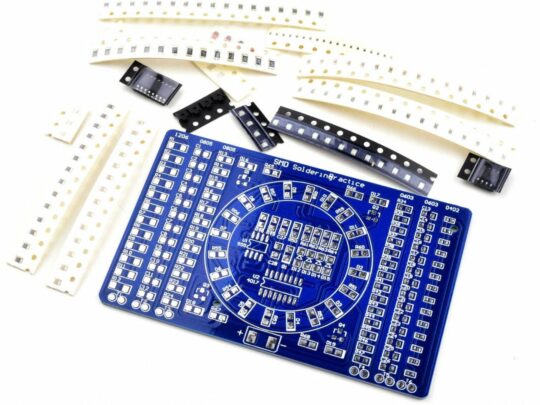
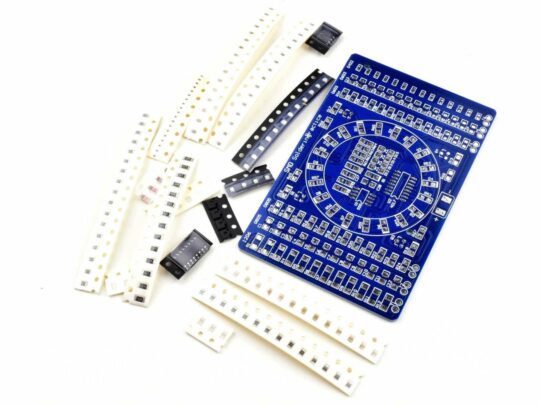
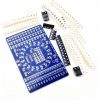
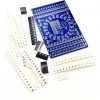
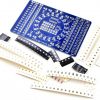
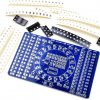
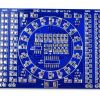
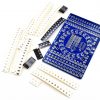
SMD Soldering Practice Kit, LED Light Effects with NE555

C$2.99

Availability: In stock (can be backordered) SKU: 26231
Quantity discount 2 - 9 C$2.84
Quantity discount 10 - 19 C$2.69
Quantity discount 20 + C$2.54

Description

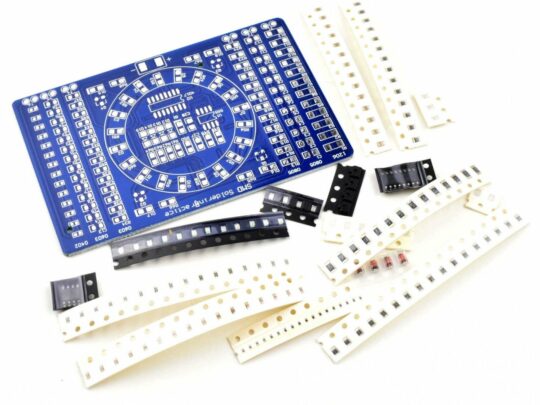
SMD Soldering Exercise kit is the easiest way to gather new skills by doing some practice. If you want to start soldering SMD/SMT parts, you definitely need some training. And before you are going to mess up some of your expensive prototypes, you better have something cheap for your exercise.

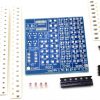
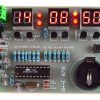
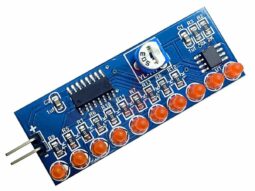
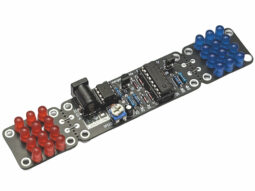
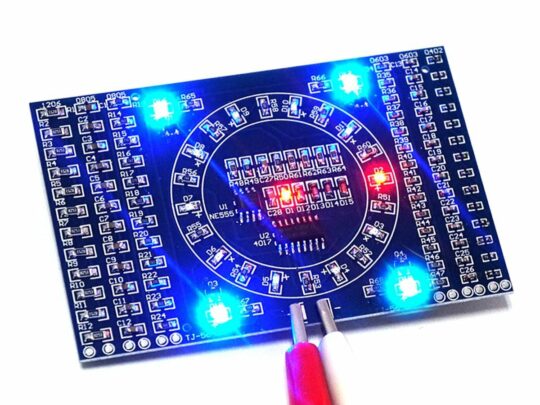
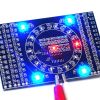
When you finished your soldering practice kit, and you connect it to a power supply 3-12V, you will get a LED light moving around in a circle (see pictures).

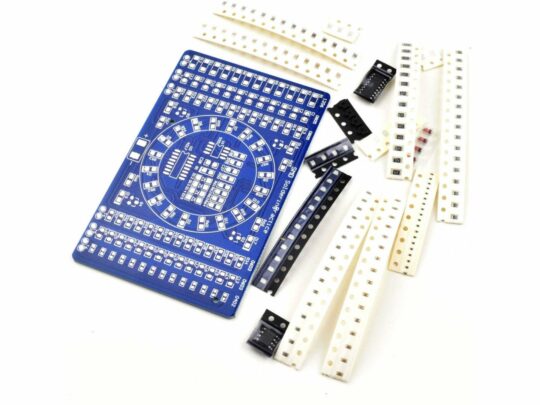
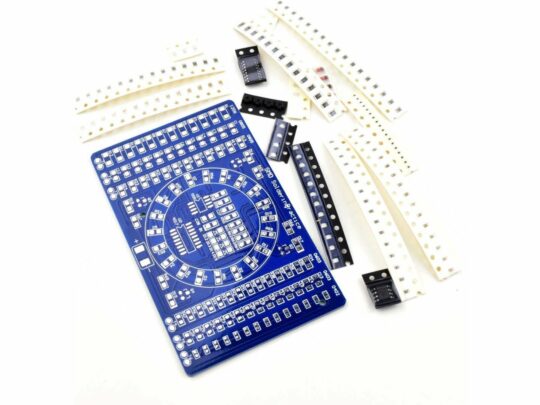
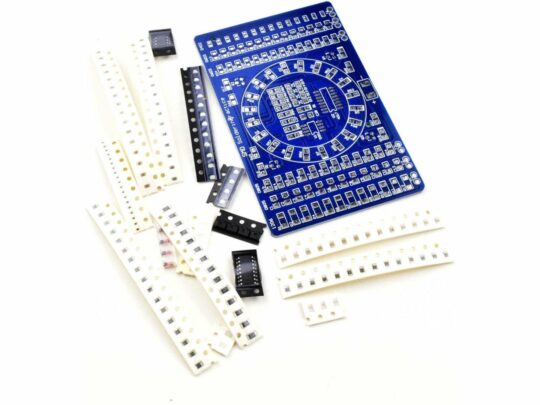
The kit includes the circuit board, about 100 passive parts (resistors or capacitors) from size 0402 to 1206, 2 integrated circuits, several LEDs and diodes.

More than 270 solder joints must be finished. You will need between 30 and 90 minutes for this kit, depending on your experience, and the right tools (solder wire 0.5-0.8mm and a solder pen with 0.3-0.6mm pencil-tip would be perfect).

You will find out how difficult it already is, to solder an SOP chip, if you haven’t done it at all. The “big” 1206 package parts are considered very easy to assemble, just like 0805. It becomes a little more tricky with 0603 packages, and 0402 is a challenge. When you have mastered this kit, you can move on to assemble your first real SMD project, without messing it up.

1 review for SMD Soldering Practice Kit, LED Light Effects with NE555

  1. 4 out of 5

    paul.lancaster (verified owner)

    This is a good kit for those of us who want to practice a number of different ways to solder SMDs and to get some safe exposure to the smaller packages. You will need a fine conical solder tip, fine wire solder, a strong magnifier and light, sharp tweezers, and a flux pen/syringe (not to mention steady hands!) to be successful. You also want to work on a desk material that you can see the SMDs on as you will drop them and will likely have to search for the smaller ones. I looked at a number of different videos on you-tube to see different methods for soldering SMDs and tried them all so I could pick what seems to work for me. I also discovered that rework seemed to be much harder than with through hole.

    Since the instructions are all in Chinese between Google translate and my experience here is my version of them:
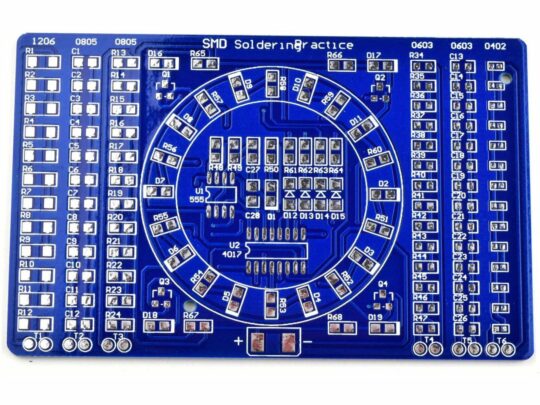
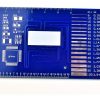
    1. The board is divided into the left 3 columns, the centre section, and the right 3 columns. The columns are for practice only with various package sizes of supplied components which are of a non-specific value and may be only resisters despite some columns being marked for capacitors as the soldering techniques are the same for these components. You will note that you can see if you successfully soldered a column by measuring on the test pads at the bottom of each as they are wired in series. Note that the packaging size of the components are indicated at the top of each column. Start on the left columns and the larger components and work right to the tiny 0402 packaging.
    2. For the centre section note that LED polarity is marked on the circuit board by a thicker white printed boarder representing the negative electrode. The LED polarity on the SMD is marked on the underside of the SMD LED. When complete the centre section is powered by 3V – 12V and the LEDs will flash on in a timed sequence so you know you were successful.
    3. For some components spares are supplied.
    4. Components for the centre section:
    R50, R51-R60, R65-R68 – Res 1K marked 102
    D1, D2-D11, D16-D19 – LED
    Q1-Q4 – Trans J3Y
    D12-D15 – diode 4148
    R48, R61-R64 – Res 10K marked 103
    R49 – Res 2M marked 205
    C27, C28 – 0.1µF Cap
    U1 – IC 555
    U2 – IC 4017


Only logged in customers who have purchased this product may leave a review.